Quick Links
Step 2: create and install a security certificate
Overview
Secure Print became a requirement for Star WebPRNT in October 2022. In order to use the STAR WebPRNT direct print functionality, secure print must be enabled.
Secure print is only available when using WebPRNT. WebPRNT is the only direct print option available to send receipts to your Star receipt printer without any dialogs displaying.
In order to use your printer in secure print mode, you will have to follow these steps to "trust" your printer log in to your printer then create and install a security certificate onto your device.
Below are unique instructions for Windows devices as well as devices on any other operating system (macOS/iOS/Android).
Step 1: log in to your printer
First, make sure your printer is connected to your network and you know the IP address of the printer. To get the IP address, turn off the printer, then hold down the paper feed button while you press the power button once to turn it back on. The printer will print out the IP address of your printer at the very end.
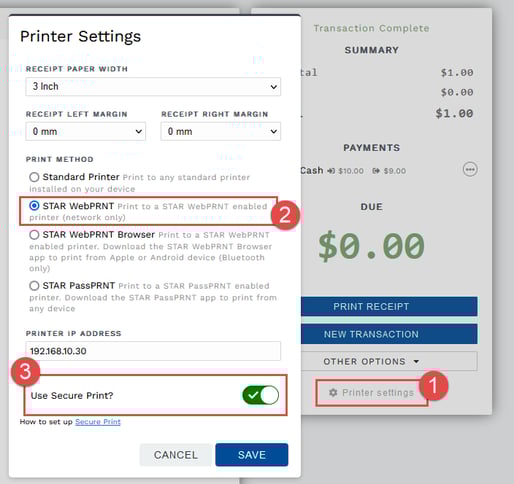
Next, make sure secure print mode is enabled. Open the POS Register (Point of Sale >POS Register), click on Printer Settings (1), make sure Star WebPRNT is selected, then enable the Secure Print toggle (3) and click Save.
Enter the IP address of the printer in the URL bar of your browser and click enter. This will take you to the printer admin page. In the menu bar, click SSL/TLS and log in. The default username/password is root/admin.
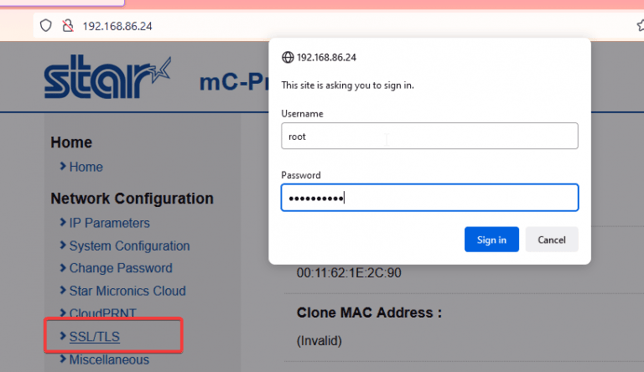 Log in to the printer settings as an admin.
Step 2: create and install a security certificate
Follow the instructions below for your device's operating system: Windows or Android/iOS.
Windows
Windows users will download the certificate during the creation process using these steps:
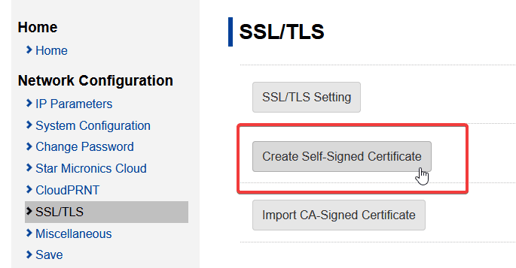
Click Create Self-Signed Certificate
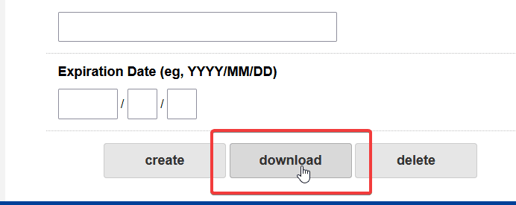
Click download.

Open the certificate
A security warning dialog will show. Click Open.
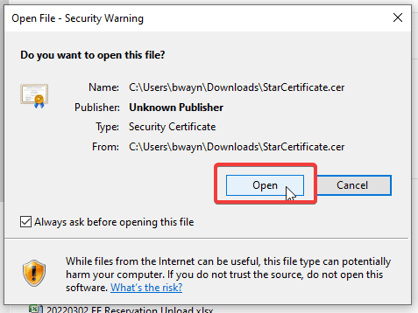
Click Open to open the certificate
The certificate will open. Click Install Certificate.
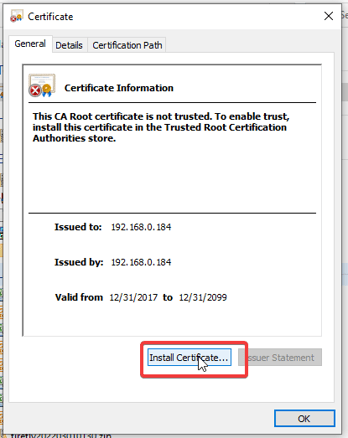
Click Install Certificate
Click "Local Machine" under the Store Location options then
Click Next to start the certificate import wizard.
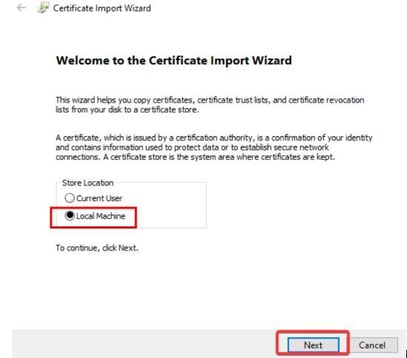
Click Next
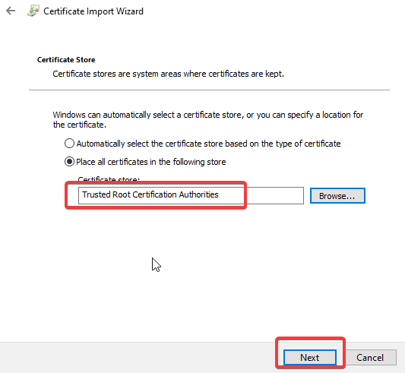
Select Place all certificates in the following store and click Browse

Select Place all certificates in the following store and click Browse
Select Trusted Root Certification Authorities and click OK.

Select Trusted Root Certification Authorities
Click Next
Click Next
Click Finish to finish the import.
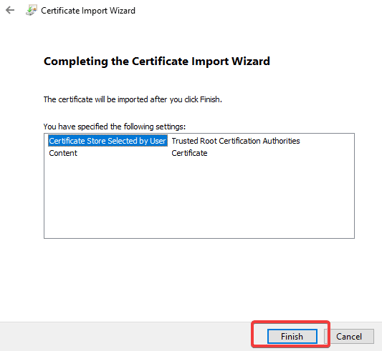
Click Finish
Click Yes on the security warning that displays.
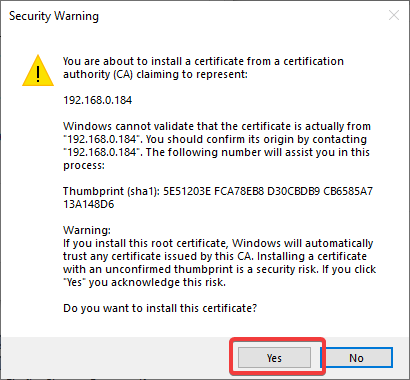
Click Yes.
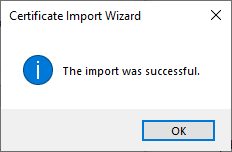
The certificate is now imported successfully!
Finally, enter the IP address of the printer in your browser once more and hit enter. If the page displays and unsafe warning, click the 'Proceed anyways' option to go to the printer settings page. This will make sure the browser is aware the printer is safe after the certificate import.
Secure print is now set up and you should be able to print receipts directly!
Android/iOS
Non-Windows devices follow the Windows instructions above to create a security certificate then follow these instructions to import the security certificate to your device: https://www.star-m.jp/products/s_print/sdk/webprnt/manual/en/_sampleProgram.html
Troubleshooting
If you are still getting a print error, follow the steps in the troubleshooting guide.